 Go to this link and just follow the simple instructions. Word of advice crimp harder, if not enough use a flat screw to help the contacts of the Rj45 slice thru the copper wires insulator.
Tuesday, June 17, 2008
crossover networks
I got two computers, one on the living room while the other is in my room. With 7 meters of cat5 cable, 2 rj45, and a crimper. I was able to connect two computers using one internet source. Building a crossover cable you can hook-up two devices that are the same(eg.. pc to pc, switch to switch). Heres my cheat sheet.
 Go to this link and just follow the simple instructions. Word of advice crimp harder, if not enough use a flat screw to help the contacts of the Rj45 slice thru the copper wires insulator.
Go to this link and just follow the simple instructions. Word of advice crimp harder, if not enough use a flat screw to help the contacts of the Rj45 slice thru the copper wires insulator.

Saturday, February 09, 2008
new life,new shit
Just happen to drop by " http://www.finalsense.com/ " grab this skin. Yes it added a new juice to this boring blog. I was quite please on how it looked no need for me to give it a touch of not/so/good html skill. HAHAHA, new life new shit
Friday, February 08, 2008
WATTAHAPPEN
try to play with some skin's. such a beginner , forgot to lock and download the old skin. Haha, either way I am trying to revive my so called "pa-tech-tech" journal.
Wednesday, August 01, 2007
how to reset cmos(using dos prompt)
*Usually we reset the " cmos" by shorting out the pins of our mother board. Theres another way to do it.By using the ever useful "dos prompt". But why do we reset "cmos".They say its a way of clearing out settings,passwords,viruses(if there is such).But for me its the ease of resetting the "cmos" without opening the case.
On DOS(if you dont know how to get to DOS. Just hit on start,go to run and type CMD)
Type in debug after the blinking cursor.
After typing debug you will get "-" which is were you can begin by typing A and pressing enter.
A
MOV AX,0
MOV AX,CX
OUT 70,AL
MOV AX,0
OUT 71,AL
INC CX
CMP CX,100
JB 103
INT 20
Note: Nothing is typed on this line
G
By pressing G this will execute the above script,
ensure you have read and agree to the above disclaimer.
Q
Then reboot and you will get a Setup Checksum Error.
Go into setup, correct all the incorrect values, time, date...
*source some others page.. :)
*I hold no responsibility if something did go wrong after doing this routine
*youve been warned, so enjoy
On DOS(if you dont know how to get to DOS. Just hit on start,go to run and type CMD)
Type in debug after the blinking cursor.
After typing debug you will get "-" which is were you can begin by typing A and pressing enter.
A
MOV AX,0
MOV AX,CX
OUT 70,AL
MOV AX,0
OUT 71,AL
INC CX
CMP CX,100
JB 103
INT 20
G
By pressing G this will execute the above script,
ensure you have read and agree to the above disclaimer.
Q
Then reboot and you will get a Setup Checksum Error.
Go into setup, correct all the incorrect values, time, date...
*source some others page.. :)
*I hold no responsibility if something did go wrong after doing this routine
*youve been warned, so enjoy
Saturday, May 26, 2007
chikka xploit(sort of)
We know that you cant send more than five messages to your new chikka buddies.What you do... just remove and add your chikka buddies again...and presto!,you can send them text messages..
Saturday, November 04, 2006
led light
got a old mouse care of microsoft of course.

whats left inside is the switch

put on the 9 volt inside solder...put some resistor..etc.. after a few moments...let there be light

future plans: put 5 white led lights in series

whats left inside is the switch
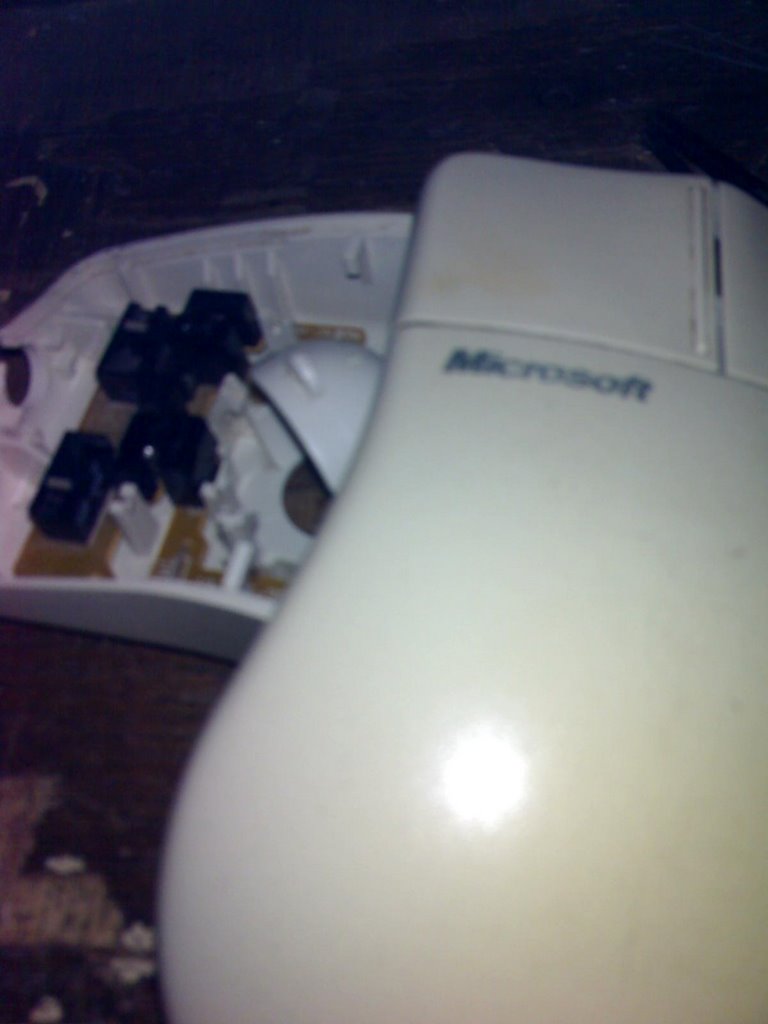
put on the 9 volt inside solder...put some resistor..etc.. after a few moments...let there be light

future plans: put 5 white led lights in series
Monday, September 25, 2006
snesPADpc
This aint a comprehensive stepBYstep way to make yourself a SNES pad PC(just wanna show you how).
You will need:
1)5 signal diodes-1n148
2)1 printer cable(db25)
3)controller port of a supernes
4)junk cdrom drive
5)snes console
Use the controller port of the Snes console ,and for the Cdrom of the casing and the front panel minus the popping cover only. Glued them together(use epoxy).

Solder the wires of the DB25(the female end) to the controller port

After the gluing and strapping in the wires here is how it look like.Now put it in(above the cdrom drive)

As for the other end of the DB25 cable


finish product
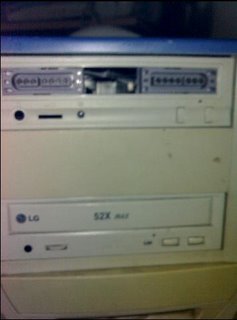
driver used for connecting the controller of a Super nes with the parallel port of PC
PsxPAD
You will need:
1)5 signal diodes-1n148
2)1 printer cable(db25)
3)controller port of a supernes
4)junk cdrom drive
5)snes console
Use the controller port of the Snes console ,and for the Cdrom of the casing and the front panel minus the popping cover only. Glued them together(use epoxy).

Solder the wires of the DB25(the female end) to the controller port

After the gluing and strapping in the wires here is how it look like.Now put it in(above the cdrom drive)

As for the other end of the DB25 cable

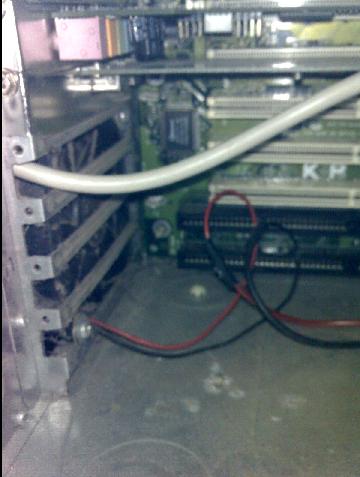

finish product

driver used for connecting the controller of a Super nes with the parallel port of PC
Subscribe to:
Posts (Atom)